Effective Infrastructure Provisioning with GitLab and Terraform
Written on
Chapter 1: Introduction to Infrastructure Provisioning
In this digital age, managing infrastructure efficiently is crucial for enterprises. With the introduction of GitLab 13, the platform now natively supports a Managed Terraform backend, streamlining Terraform state management. Terraform is compatible with various remote storage solutions, including AWS S3, Azure Blob Storage, and Google Cloud Storage. Many organizations favor these options as they align closely with their chosen Cloud Service Providers. However, some may opt for alternatives.
Being a comprehensive DevOps platform, GitLab offers an integrated approach, simplifying maintenance and support. This article will guide you through creating a Terraform pipeline utilizing GitLab's Managed Terraform backend for state storage, incorporating a conditional approval step before deployment.
To illustrate this process, we will provision an S3 bucket using GitLab pipelines.
Prerequisites
Before diving into the setup, ensure you have the following:
- A GitLab account
- An AWS account with the necessary credentials
Setting Up the Code
For our example, we will provision an S3 bucket, with the complete codebase available here. A key aspect to remember is the HTTP backend provider. To utilize GitLab's Managed Terraform Remote backend, include the following block in your backend configuration:
terraform {
backend "http" {
}
}
You can specify several variables within the backend block, which are detailed in the Terraform documentation. For our implementation, the required environment variables will be configured directly in the GitLab pipeline.
Pipeline Structure
The Terraform pipeline comprises five distinct phases, as illustrated below:

- Prepare — Downloads providers from the Hashicorp registry and initializes the backend.
- Validate — Formats Terraform files and runs validation checks.
- Build — Executes Terraform scripts to create a deployment plan.
- Deploy — Executes the previously created plan, including an approval mechanism for oversight.
- Destroy — A manual trigger to remove the created infrastructure.
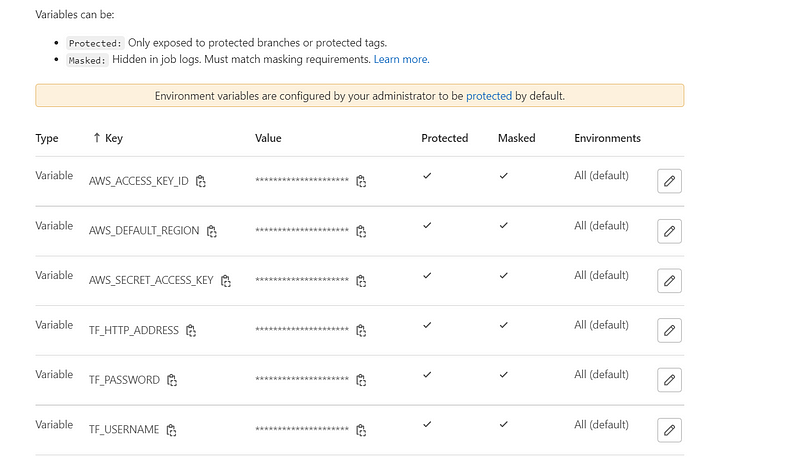
It's important to note that secret variables for AWS and the remote backend should be configured in the CI/CD variables section.

Pipeline in Action
Once you initiate your pipeline, GitLab will create and initialize the Terraform backend automatically.

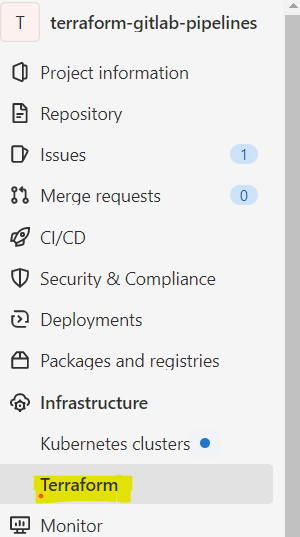
You can locate the newly created Terraform backend in GitLab, and it's also possible to download the state file to your local machine.

During the build stage, a plan file is generated and stored in the local runner directory. If everything appears satisfactory, you can proceed to the deployment phase. Note that the deploy stage includes an option for manual approval, allowing a reviewer to validate the plan before application. Terraform's power is immense; a single erroneous apply can have serious repercussions.
When you're ready to dismantle the newly created cloud resources, simply initiate the destroy command. That's all for now. I hope you find this article beneficial. Thank you for reading!
For any inquiries, feel free to connect with me through the links below:
- Medium
References:

If you found this post helpful, please show your appreciation by clicking the clap ? button below a few times! Join FAUN for more insightful stories.
Chapter 2: Video Insights
In this chapter, we'll explore some valuable video resources that further illustrate the concepts discussed.
This video titled "DevOps Project - Automate deploying to AWS using Terraform with GitLab CICD pipeline" walks through automating AWS deployments using GitLab CI/CD and Terraform, showcasing practical applications of the discussed concepts.
The second video, "Continuously deploying terraform script with Gitlab CI - Idowu Emehinola," provides insights into continuous deployment practices with GitLab CI and Terraform, adding depth to the automation strategies covered in this article.